Shelf Styling Tips for the Minimalist

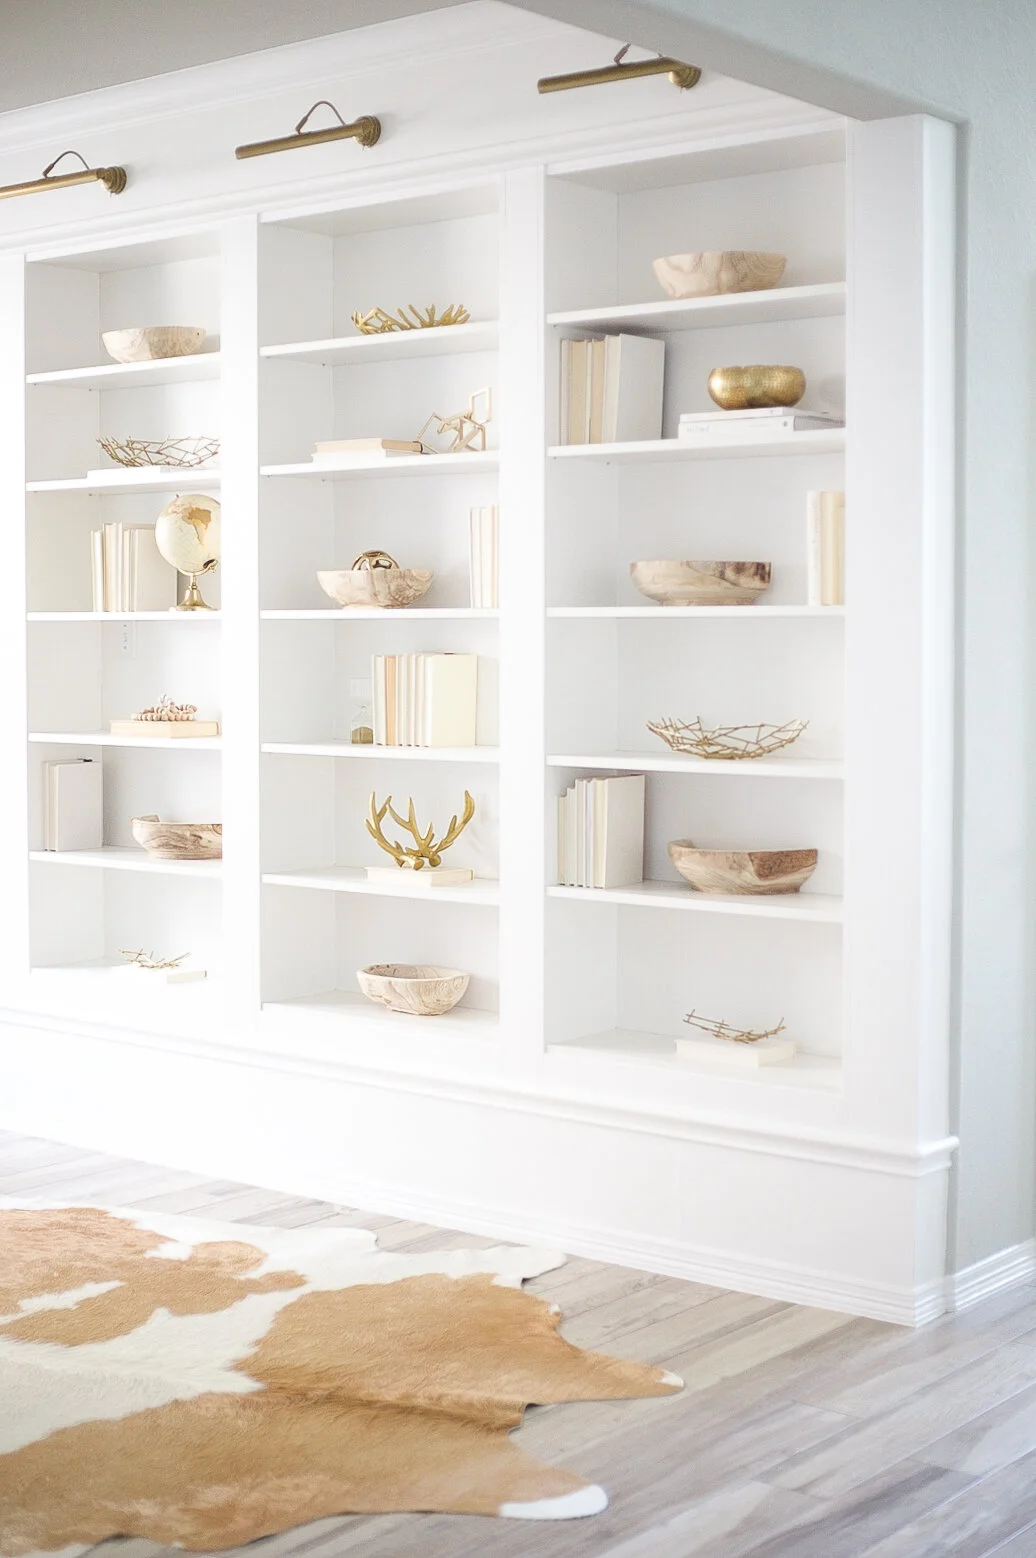
The IKEA Billy Bookcase hack turned the awkward formal dining space off of our kitchen into easily one of my favorite spots in our home. The floor to ceiling shelves made a major impact on a minimal budget. Even the picture lights are from IKEA and under $30 each.
How did we come up with the design? We didn’t. Not even a little. I literally printed off Living w/ Landyn’s bookcase blog post with her father-in-law’s hand sketch and hardware store receipt, found a fantastic millwork contractor and…handed him a hard copy. Wish I had a more romantic story about how I dreamed these shelves up myself and sketched them on a napkin. But no, the good old internet helped a sister out on this one.
I loved the naked built-ins so much that I left them bare for no less than 6 months (maybe longer). I have major commitment issues and being a minimalist doesn’t help. The thought of junking up the shelves with clutter made me itch.
So, I stuck to a pretty simple approach…


7 Shelf Styling Tips
Less is more.
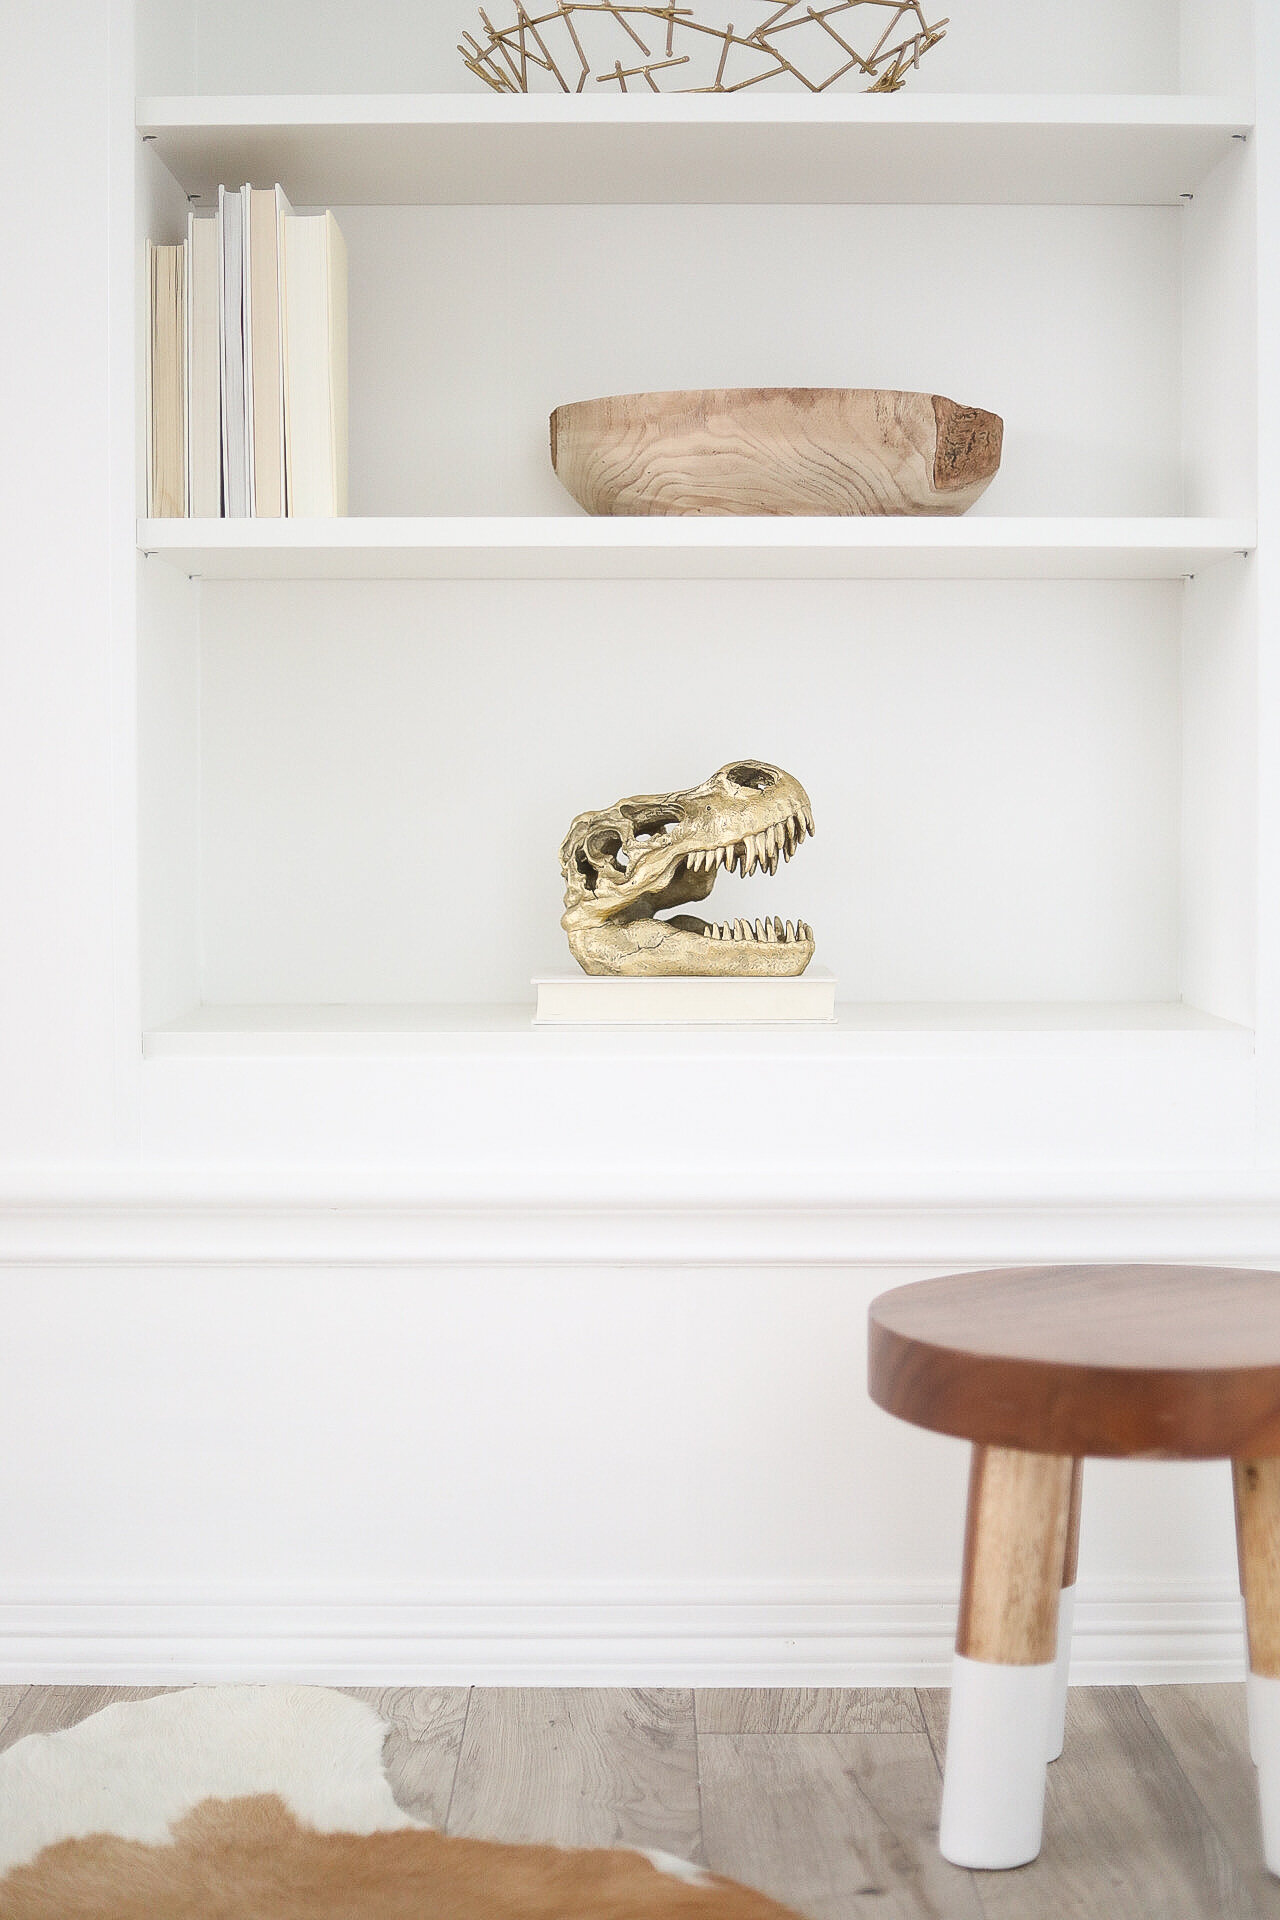
Truth is, I’m not confident these shelves are actually done. I wanted to fill the entire builtins with just hundreds of neutral books. Books only, end to end. But I had a really difficult time tracking down used books with white covers, so I had to pivot. Plan B was to find one focal piece per shelf and play with placement. Then I sleep on it. For a few months. Because kids. I never really got around to adding much more than a few texture combos. They are kind of my happy, minimalist mistake.1 color + 2 textures.
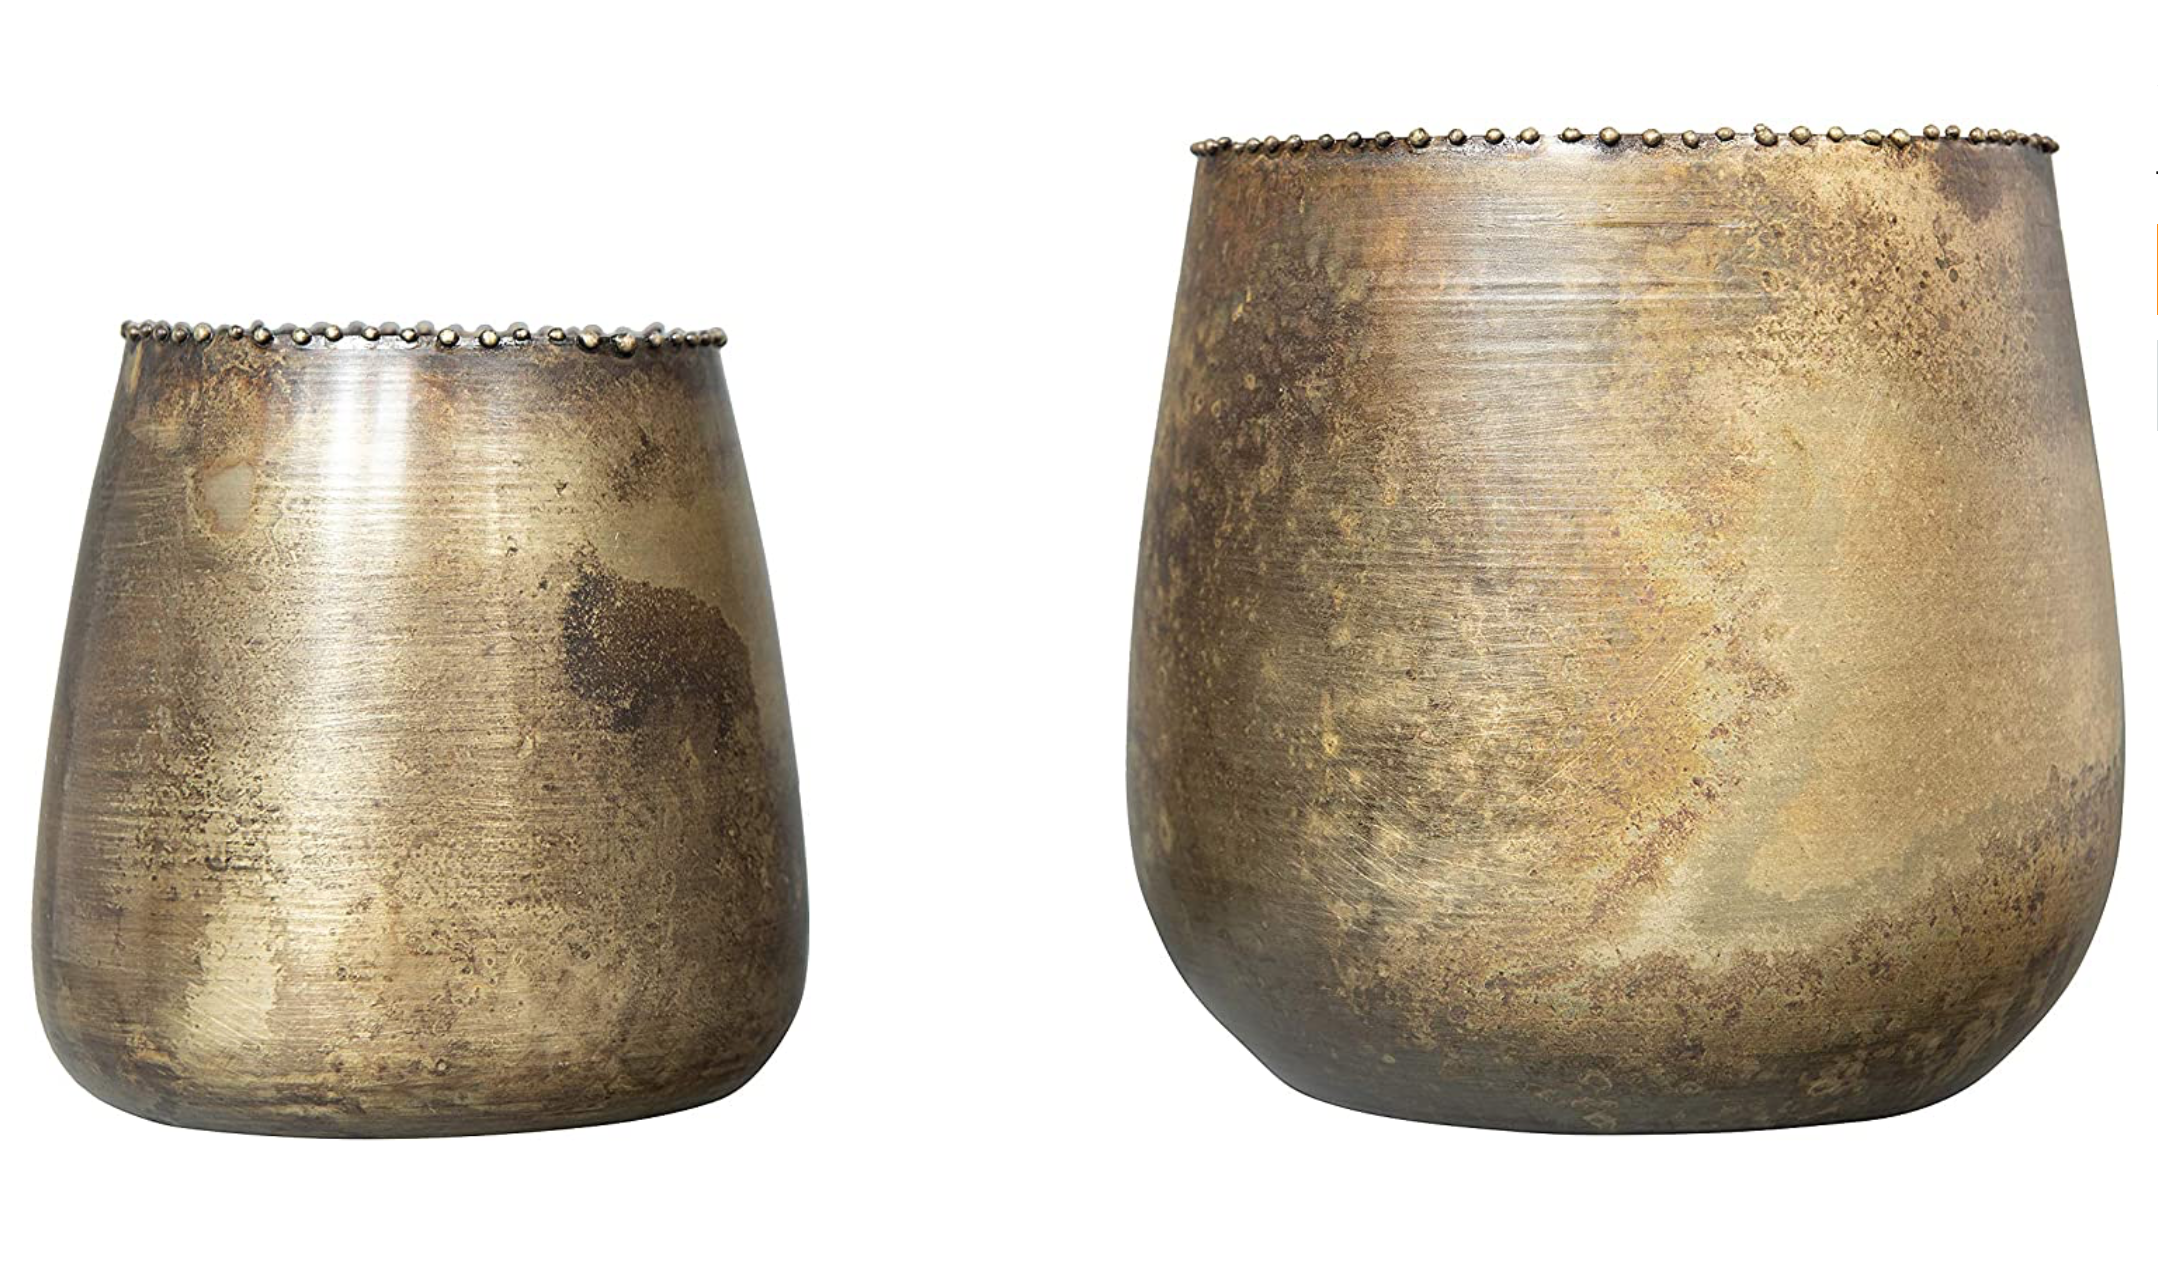
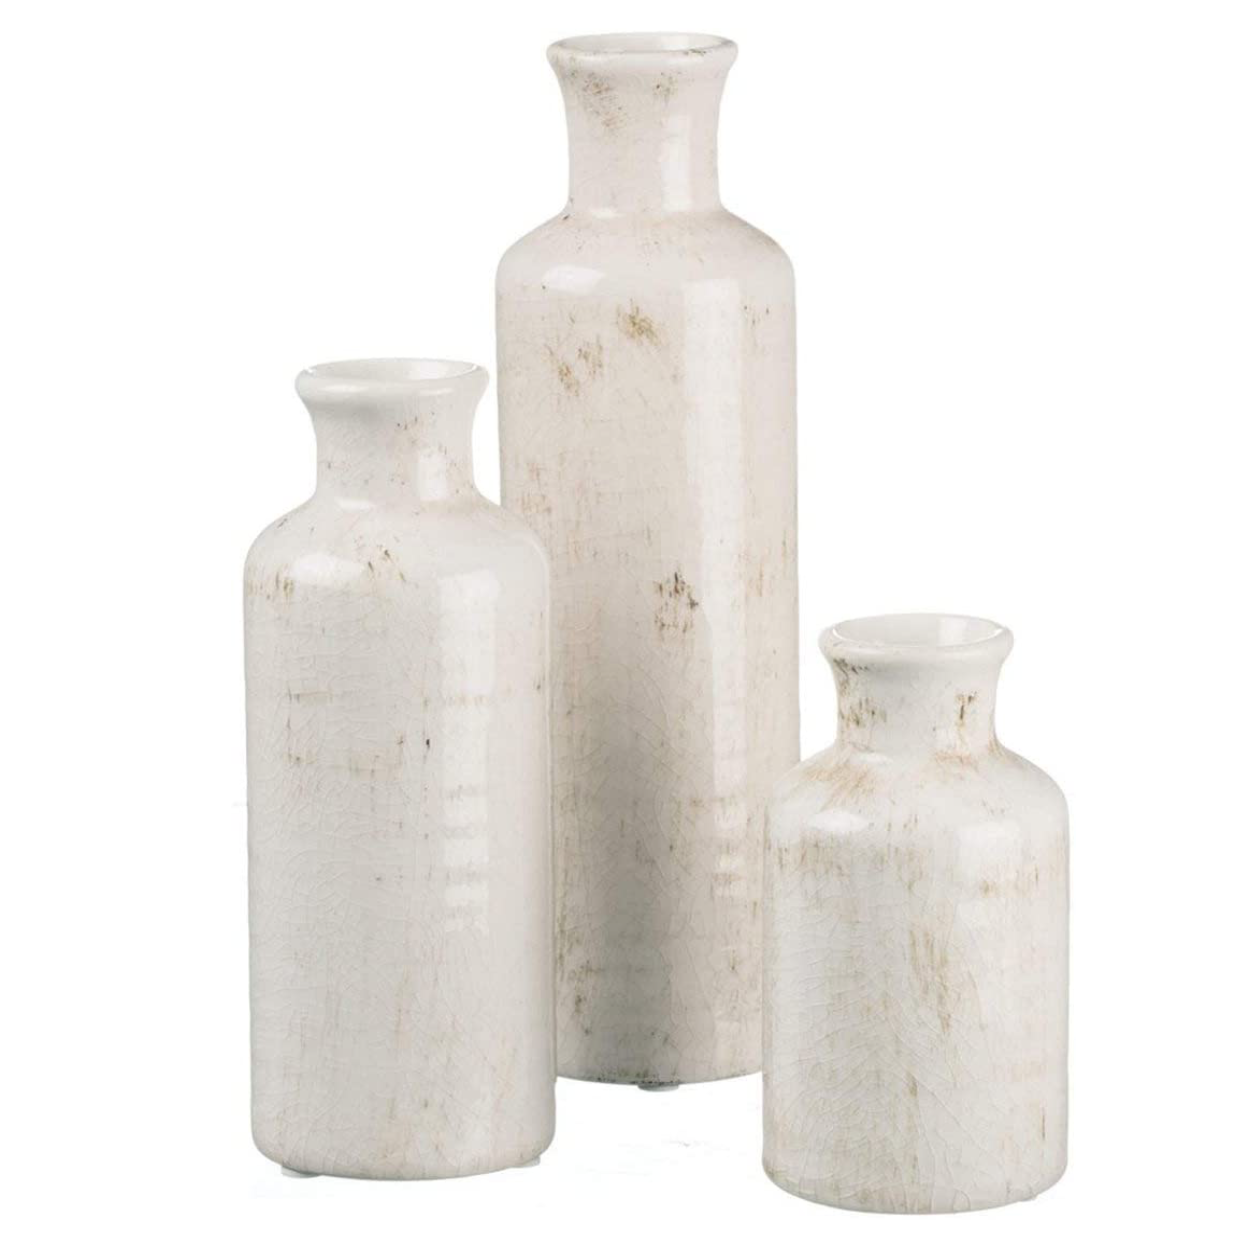
This was the magic formula that helped visually balance our built-ins. These shelves are visible from several vantage points in our home, so I didn’t want them to overwhelm our entry or living room views. I stuck to 1 color (gold/brass) and 2 textures — a light oak (almost drift wood) texture and the neutral creamy page texture from the books.
Backwards books.
Speaking of books. Don’t kill yourself like I did. Save yourself the headache and flip your books so the pages show. I searched and searched for perfectly white books with gold type on the spine and found very few. I finally just started searching for neutral books with neutral pages and flipped the spine to the back. I just made sure to put a fully white book on the end to hide the random spines that were rear facing. I had several friends recommend wrapping the books in craft paper, but I don’t think anyone realizes how incredibly lazy I can be sometimes.The power of paint.
I really shopped our house for these shelves. I can’t tell you how many of those gold and brass items are actually silver. Painting a few pieces I already owned with a similar gold actually helped make everything feel a bit more cohesive.Set your anchors.
I highly recommend starting with your largest items first and spreading those pieces evenly throughout the shelves so you have visual anchors. It’s always about finding a balance between height, size, color and texture.
Copy paste.
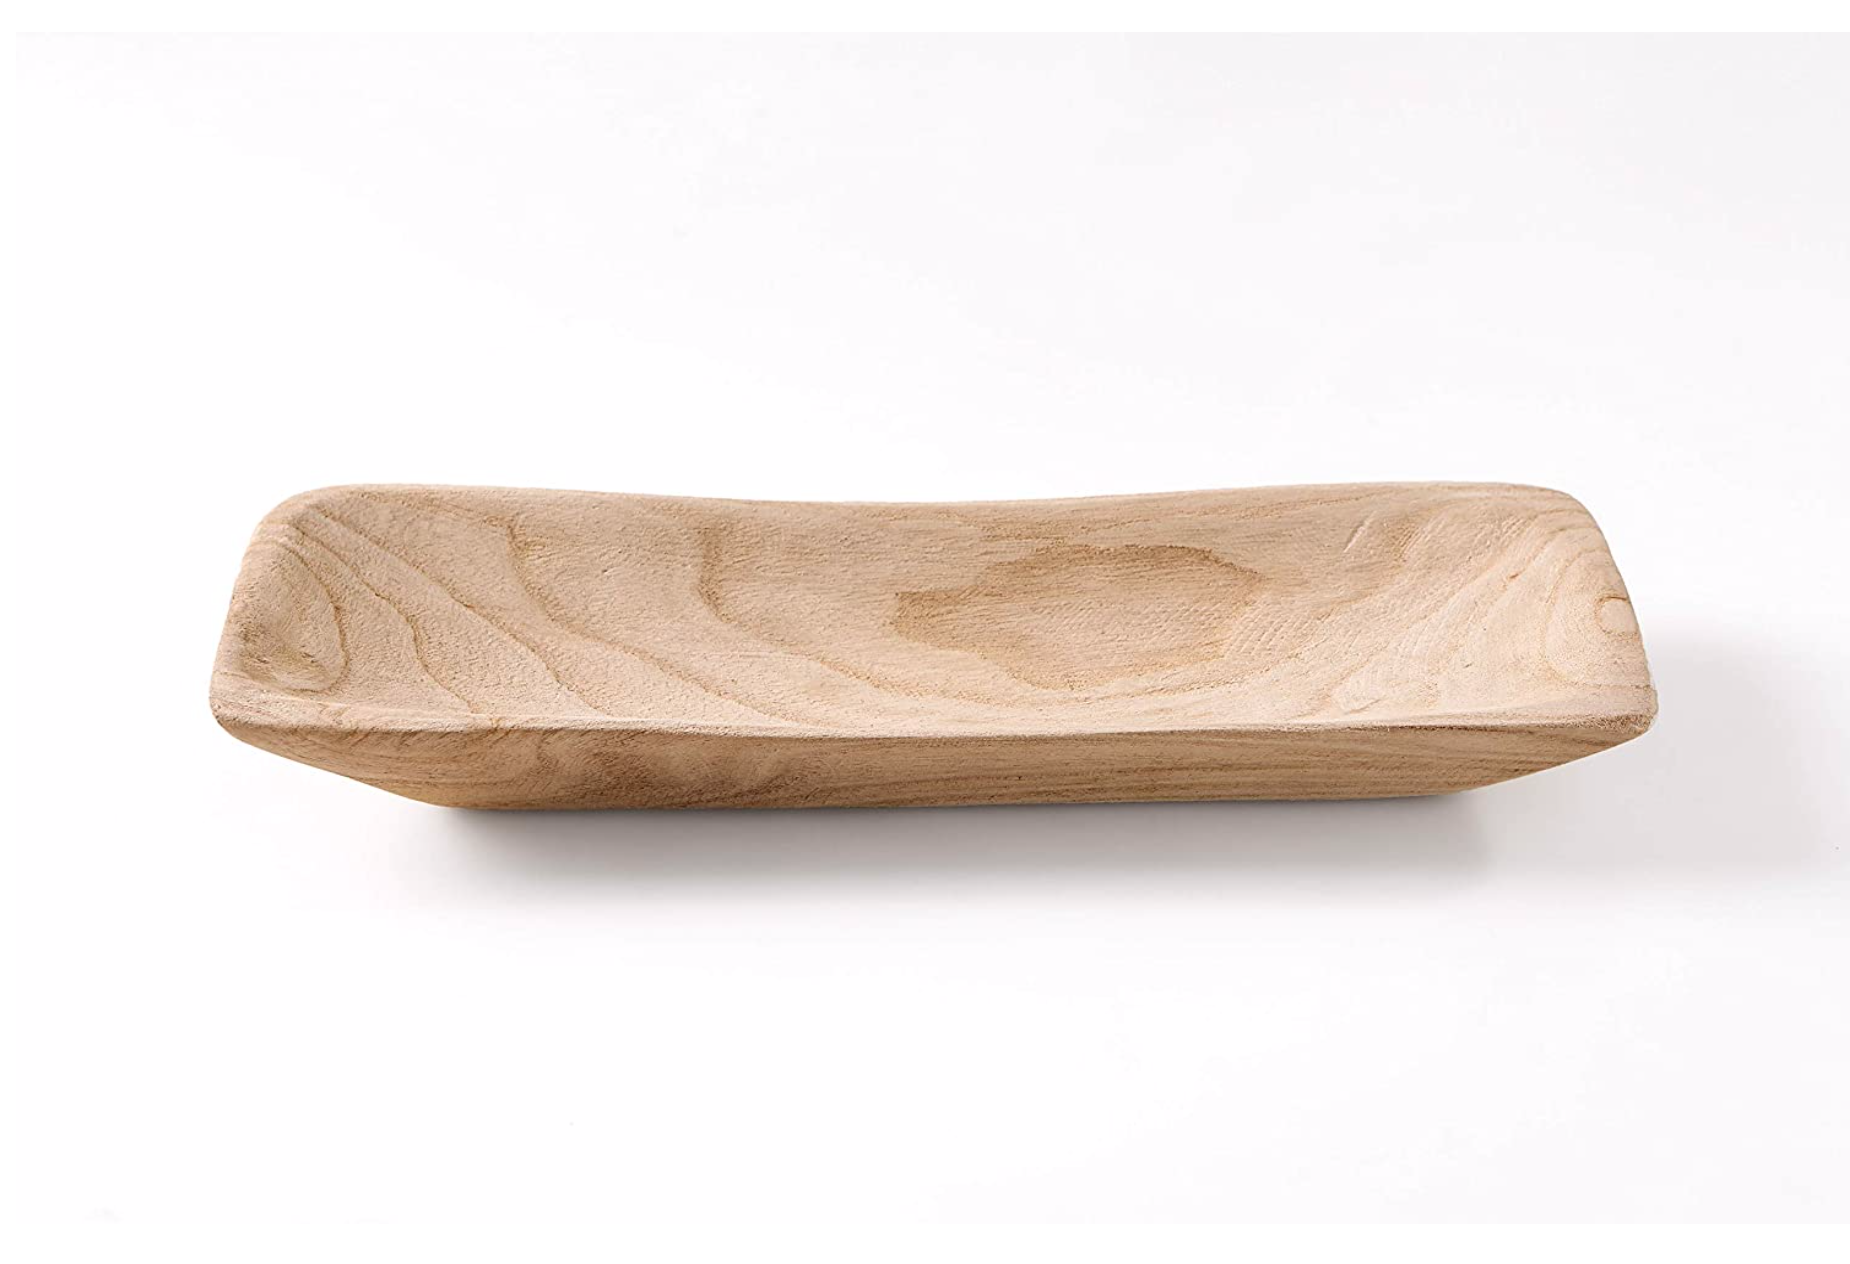
This was something I discovered simply out of lack of resources. I found these amazing dough bowls, but only a few and they were too deep for the shelves and stuck out several inches. I loved their color and texture so much I didn’t want to ditch them. My husband literally sawed them in half for me and it doubled my count. I was able to essentially copy and paste them onto multiple shelves and create additional cohesion. Another very happy mistake.Wood is good.
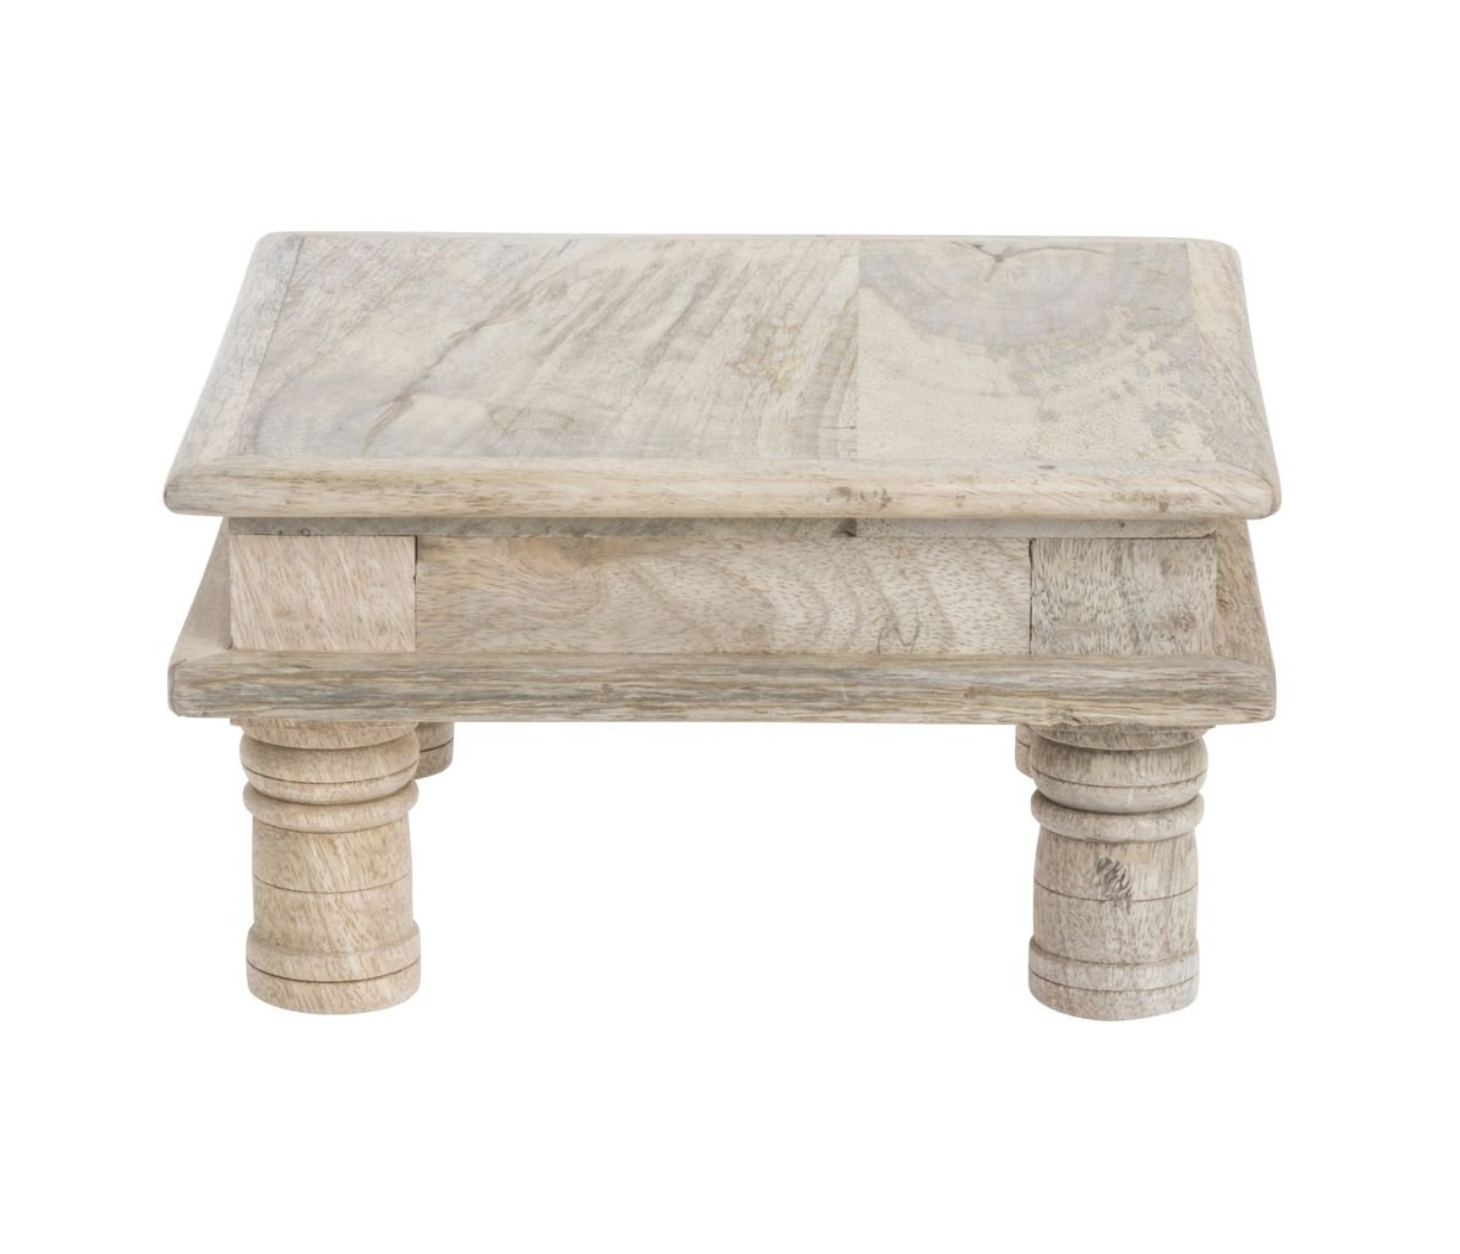
Wood textures soften the contrast between the brass and the white. It adds texture, interest and an element of effortlessness. If I take the wood elements out of the shelves I instantly feel like it’s too stuffy. Wood crates all those cozy chill vibes. Wood is good, my friends.
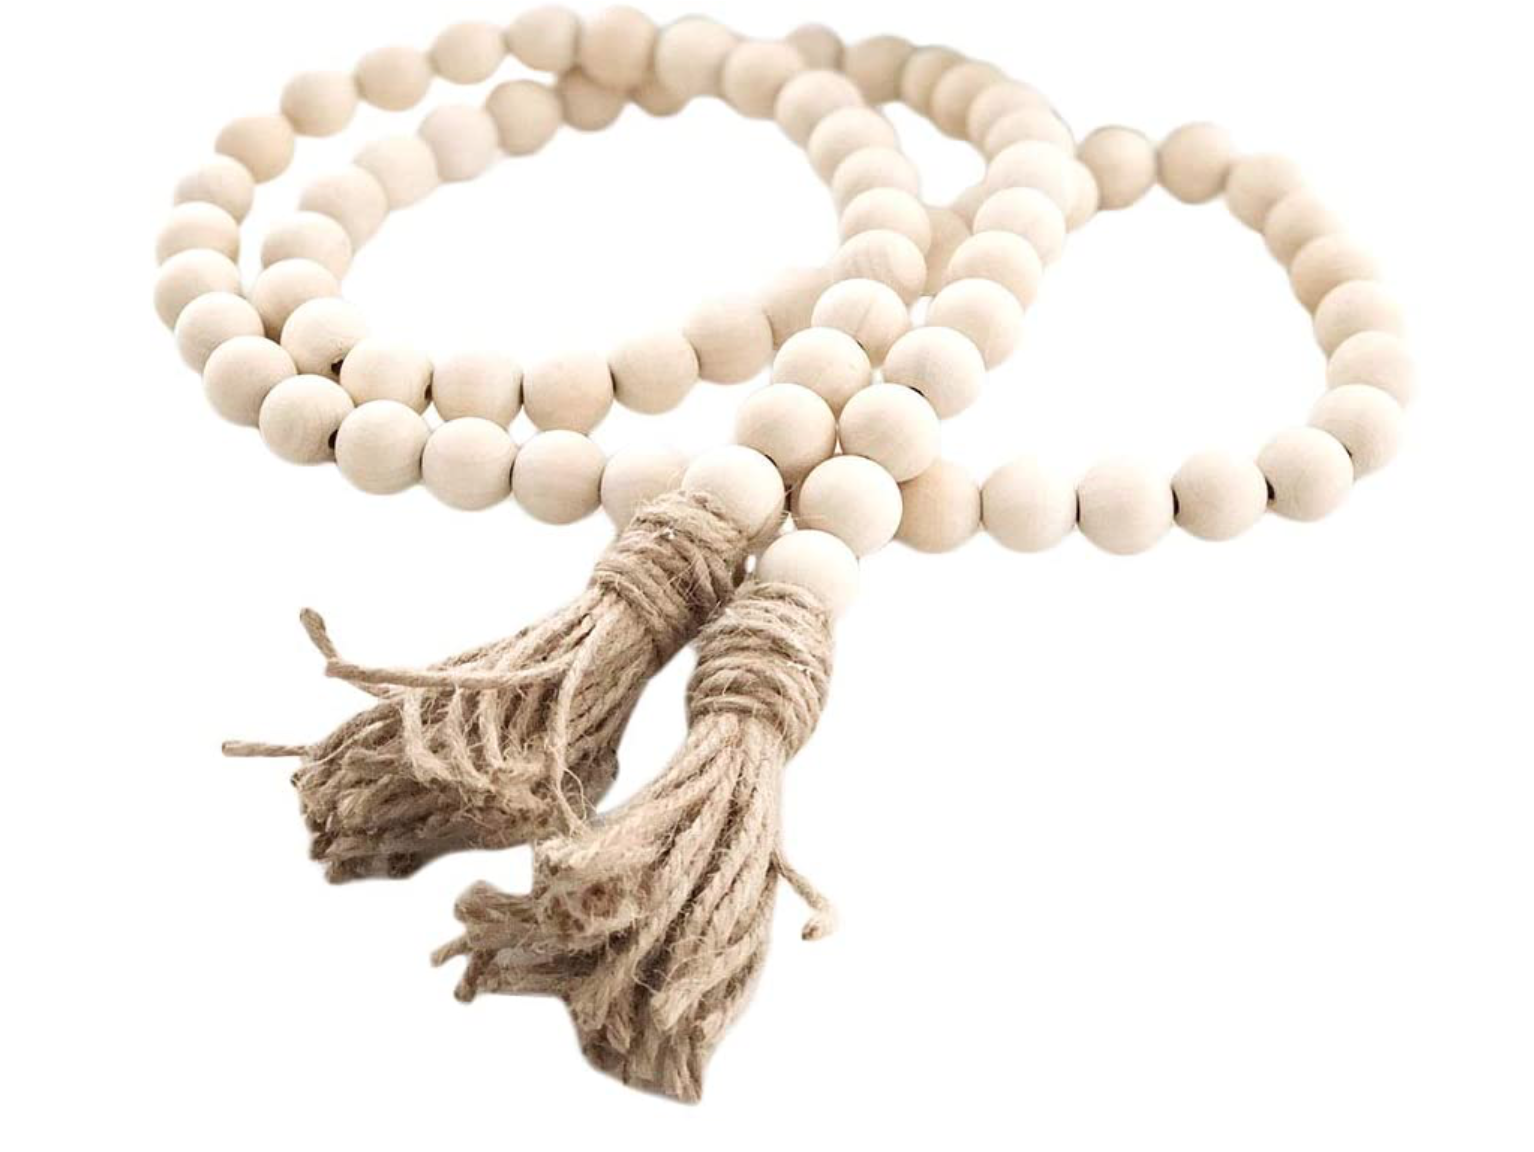
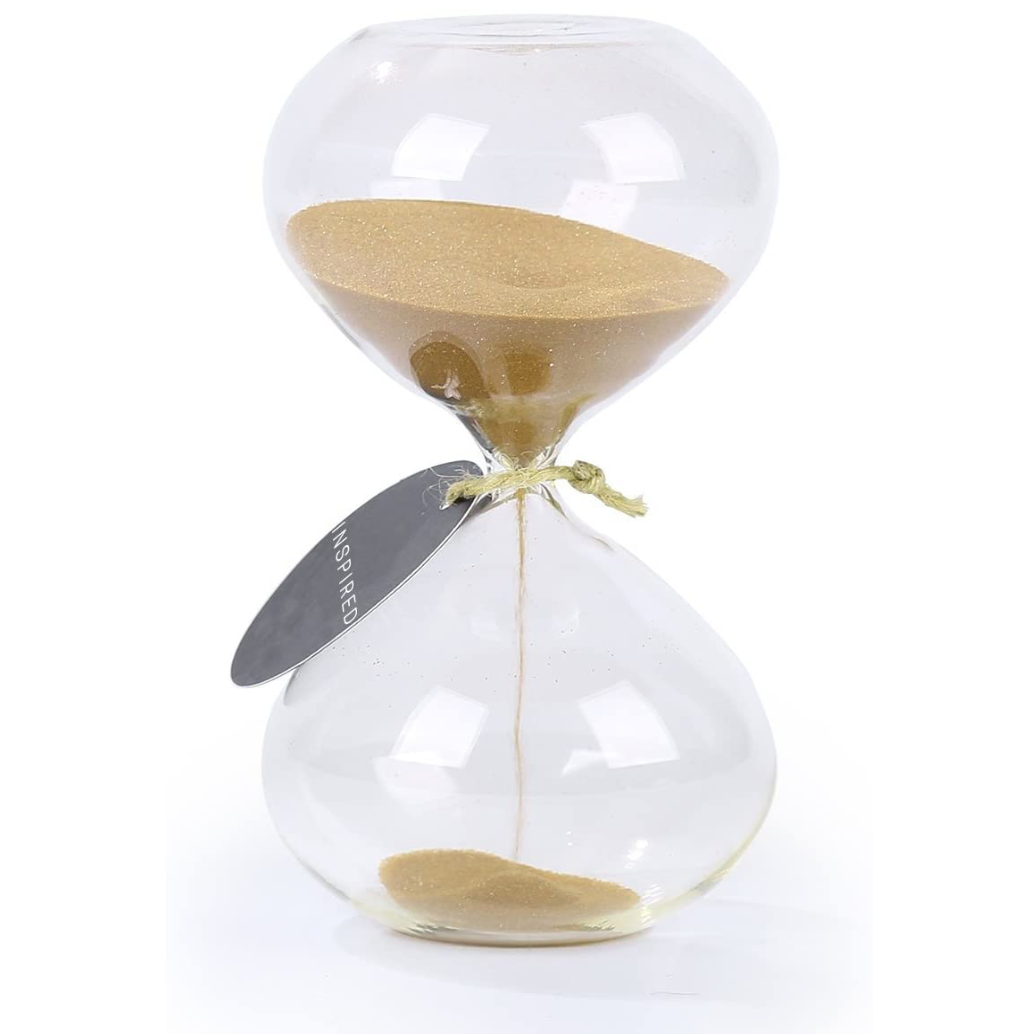
Rounded up some of my minimal shelving favorites below //

SHOP MY SHELVES //


To shop more home decor favorites head over to my Amazon store.